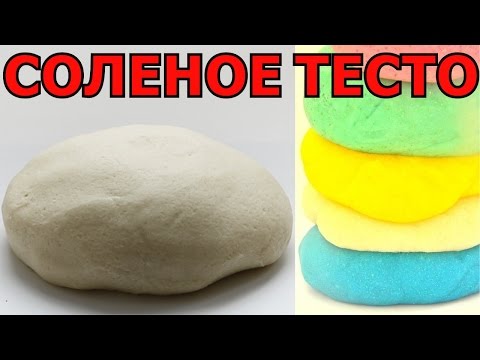
The dough for modeling is a mass resembling plasticine, but softer, does not stick, does not stain, does not have a pungent odor and does not cause allergies. how make salt dough for sculpting at home? The best homemade dough is obtained from salt, flour and cold water.
Working with plastic mass is incredibly exciting and useful in terms of the development of fine motor skills. This helps to activate the points of the brain that are responsible for coordination of movements, objective actions and speech. And this is not all the advantages of a modeling test, it:
- Increases perseverance.
- Develops logic and creative thinking.
- Improves concentration and perception.
- Develops the ability to work with small objects and helps in mastering the intricacies of manipulation.
Make a useful mass under the strength of every mom, because the technique is not very different from cooking dumpling dough. In the article I will review the most popular recipes. I'll start with the classics, and later switch to more complex options.
Classic Salt Dough Modeling Recipe

I offer the classic recipe for salt dough for modeling, which involves the use of the simplest ingredients present in every kitchen. It is incredibly popular among experienced craftsmen, people with little experience, and beginners.
- Flour - 300 g.
- Salt - 300 g.
- Water - 200 ml.
- Pour salt into a deep container, add part of the water. I advise you not to use all the liquid at once, since in each case the humidity of the flour is different.
- After the salt has dissolved, add the sifted flour. Knead in a bowl first. After forming the lump, move the mass to the work surface and finish the process. To increase ductility, gradually add water.
- Place the finished dough in a plastic bag and refrigerate. After two to three hours, the salty mass is ready for work.
From these proportions, quite a lot of salt dough is obtained. If large crafts are not planned, cut the number of ingredients in half or four. If the mass remains, store it in a film in the refrigerator, as the mass is stored for lizuna. In this form, it retains its pristine qualities for a month.
How to make dough in 5 minutes

If crafts from salt dough turned into family hobby, I recommend to arm yourself with a recipe, thanks to which in 5 minutes you will make another portion of the elastic mass at home.
- Flour - 1 cup.
- Water - 1 cup.
- Soda - 2 teaspoons.
- Salt - 0.3 cups.
- Vegetable oil - 1 teaspoon.
- Food coloring.
- Pour a mixture of salt, soda and flour into a small pan, pour water with vegetable oil. Place the container in a small fire and heat for several minutes, stirring regularly. Add dye and mix.
- Watch the density of the dough. If sticking to a spoon, done. Put the mass on a plate to cool. After that, carefully knead with your hands.
- Store salted dough in a bag or in a food container, otherwise it will dry. If the mass has dried, do not be discouraged. Add some water and mash.

The quick salt dough has another advantage - a long shelf life. Subject to all the rules, the dough retains its properties for several months. With this material will not be bored.
Starch-Free Glycerin Recipe
Some masters to give shine to crafts cover the surface with a layer of varnish. But such a result can be achieved without the help of paints and varnishes, because there is glycerin sold in all pharmacy outlets.
- Boiling water - 2 glasses.
- Flour - 400 g.
- Glycerin - 0.5 teaspoon.
- Sunflower oil - 2 tablespoons.
- Tartar - 2 tablespoons.
- Fine salt - 100 g.
- Dye.
- Make a foundation. In a small container, combine tartar, vegetable oil, salt and flour.
- Bring the water to a boil in a small saucepan. Pour the flour base, add dye and glycerin. Cook until a mass of uniform consistency is obtained.
- Cool and mix thoroughly. Add flour if necessary.
Having made a figure from dough without starch, you will see that it has a pleasant sheen. This craft will be wonderful a gift for mom on March 8 or girlfriend's birthday.
How to make flour dough without flour
The highlight of this plastic mass is the absence of flour. The technology for making salt dough for modeling is suitable for masters who do not like working with a white, quick-moving ingredient.
- Starch - 1 cup.
- Baking soda - 2 glasses.
- Water - 0.5 cups.
- Natural food coloring.
- In a deep bowl, mix starch with soda. While stirring, pour water into the stream.
- Place a container of ingredients on a small fire and cook until a ball is formed.
- Put the cooled mass on a floured surface and knead. The dough is ready.
There is no flour in this test, but it is great for sculpting. Use this easy-to-prepare plastic material to create a variety of shapes that will show others your talent.
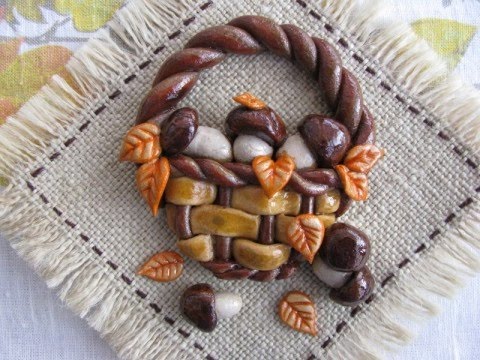
What can be made from salt dough - craft examples

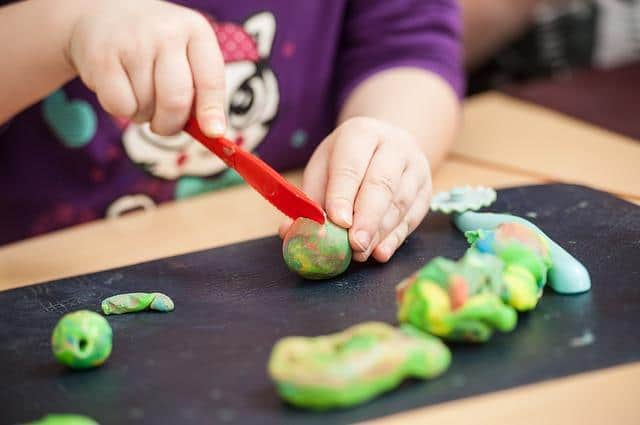
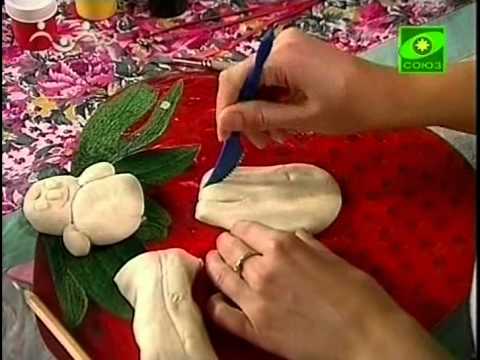
We examined the technology for preparing salt dough for modeling. It's time to apply the salty material in the work. If you are a beginner, I recommend starting with the simplest figures. Over time, after gaining precious experience, switch to more complex crafts.
Experienced craftsmen make various figures and compositions from salt dough. The result depends only on the imagination. In this part of the article I will give some good examples with step-by-step instructions for manufacturing. They will help to learn the basics even to children.
Mushroom
- To create a hat, roll up a small ball and gently press on one side.
- Make a sausage. When rolling, press one side slightly. Get a leg.
- It remains to collect the figure. Use a toothpick to increase reliability.
- After the dough has dried, decorate the mushroom as desired.
Beads
- Roll several dozen of the same size and even balls from the dough. Put the balls on the toothpicks.
- Leave the balls in the fresh air for several days to dry. I advise you to turn the beads several times a day.
- Carefully remove the toothpicks from the dried balls. String the beads on a ribbon or string. For a more beautiful product, color the beads with markers.
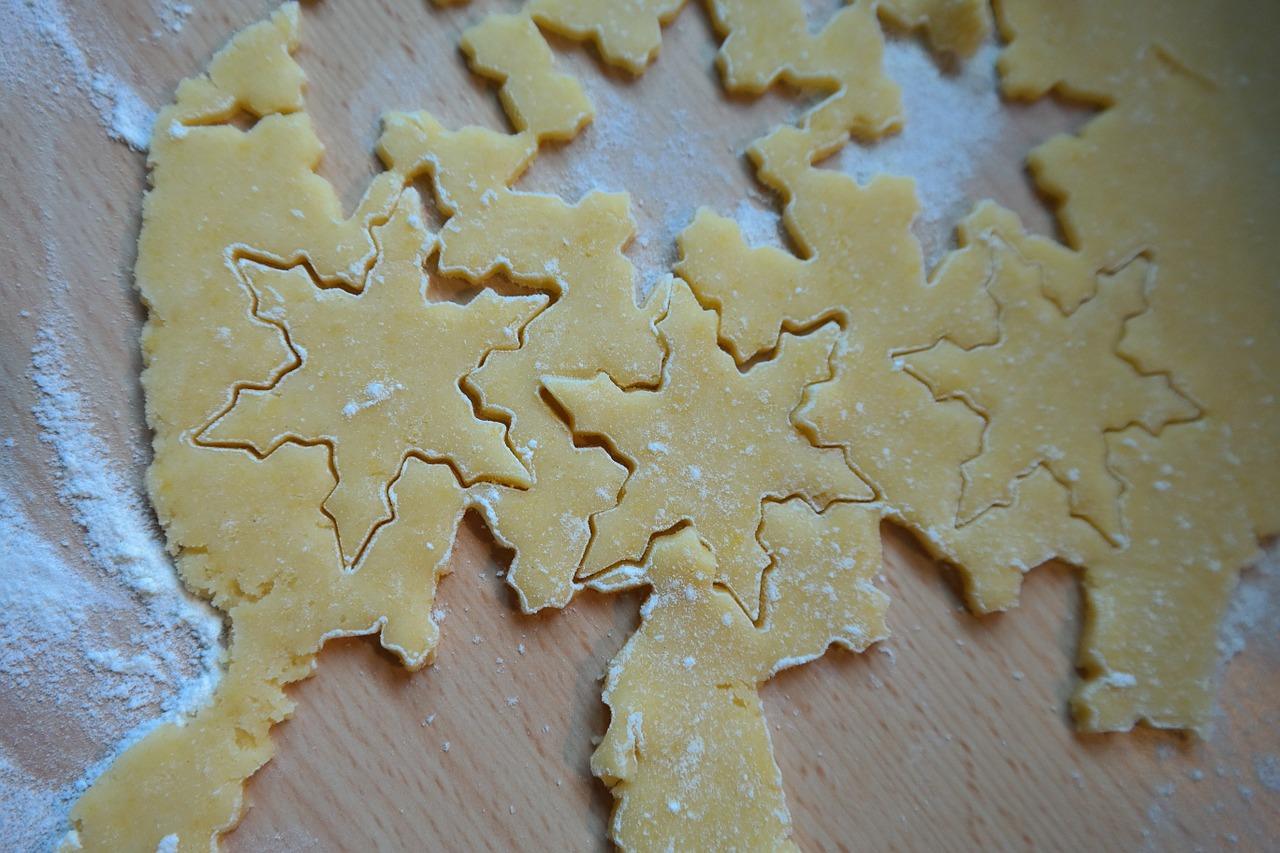
Christmas decorations
- Roll the salt dough into a layer. Using a cardboard stencil or cookie cutter, squeeze the figures.
- Make a hole in the figures for cocktails with a tube. Dry the dough.
- It remains to decorate Christmas decorations and pass through a hole a beautiful ribbon.
the Rose
- Make a cone out of a small amount of dough.
- Roll a small ball and roll it into a cake. Attach the slice to the cone.
- Attach a similar element on the opposite side. Get a bud.
- Roll up a few balls and make petals. Attach to the flower in a circle.
- Bend the upper edges of the petals slightly, and press the sides.
- After the dough has dried, paint the figure in scarlet.
Puzzles
- Make a large stencil of a figure, such as a cat, out of cardboard. Roll the dough into a layer. Using a stencil, cut a large figure. Leave the dough until morning to dry.
- Use a sharp knife to cut the cat's figure into fragments. Wait for it to dry completely.
- Use markers or gouache to color the craft. After drying, coat each piece with a layer of clear varnish.
Video examples of figures
As you can see, salt dough is ideal for creating simple and complex shapes and compositions. And this is just a small number of ideas. With the help of imagination you can create a variety of toys, jewelry, souvenirs and other crafts.
Useful Tips
In conclusion, I will share the secrets of experienced masters who will make working with the material more productive, and the result more impressive.
To get the most plastic mass, masters replace water with jelly, consisting of a tablespoon of starch and 0.5 cups of water. And to make the painted figure look brighter, before painting it is covered with a layer of nail polish or white enamel.
Drying has a great influence on the durability and appearance of the result. It is correct to dry the figures from the salt dough in the air, but this is fraught with long time costs. It helps to solve the problem oven. To do everything right, it is recommended:
- Turn on minimum temperature.
- Open the oven door.
- Put the figurine in the oven before turning it on to heat up gradually.
- To take out not after turning off the oven, but after cooling.
- Dry the product in stages. Take one hour for one hour with a short rest.
Practice shows that the drying time depends on the type of salt dough, the thickness of the product, the presence of creams and oils in the dough. A piece of classic dough dries much faster than figures of complex masses.
Testoplasty is an interesting direction of needlework, which is most popular among children. I like the lesson for adults, because it is safe and not expensive. I wish you good luck in this creative activity and I hope that the masterpieces made by yourself will fill your home with comfort and a festive mood. See you!